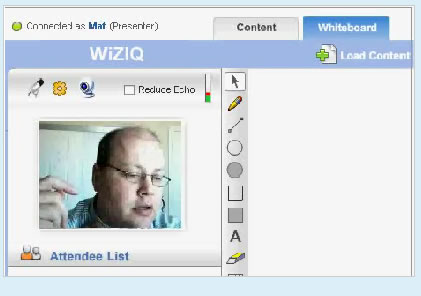
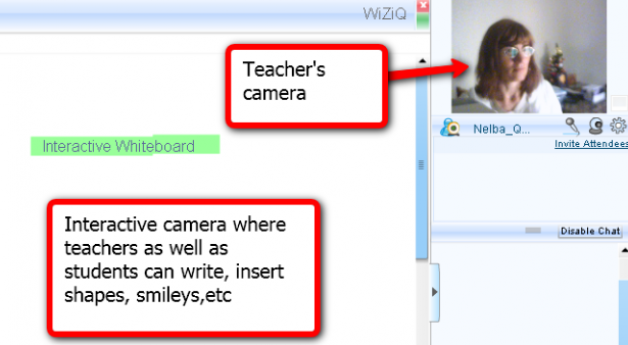
As you might have heard, I’m setting up a ‘Virtual Dojo’ where you can participate in live on-line classes either as a group or individually for personal mentoring regardless of where you are, so long as you have an Internet connected PC with web cam and headset (below for exact specifications).
I will be running the first sessions free, so you can try this resource and to allow me to get used to teaching in this way. Some of the classes will always remain free, e.g. safety, nerve injury, as I believe such information should be widely available but the rest will be available at a modest fee. I plan to use the facility it has to record classes for students so they can revise at any time and also make them available the paying members of this site. I will be adding a section in the Tuition page that will provide links to classes. Once you click on the link, you will be guided to the class of your choice with full instructions. It couldn’t be easier. Once you are in the Virtual Dojo, the controls are pretty standard but, of course, I can help you.
Facilities include:
There’s a lot more and a whole range of upgrades. However, I think the list above more than covers anything we are likely to need. We don’t want to turn this into a course on all the features of the software when we could be tying.
The main area we have been working on tonight is improving the video further as I see this as key in providing a good service. After all, the whole point is being able to show you how to tie, guide you as you try and finally critique your efforts as if we were in the same room. I’m glad to say the results are really very good now and can only get better as I was told that they have HD in the pipeline. Even before the techie worked his magic, I was able to watch a student in Hawaii tie and was able to see quite well enough; he said the image from my end was excellent. I think it will knock his socks off when he sees it now. I have discovered that we degraded performance a lot by allowing too much simultaneous 2-way communication. We had all the cameras on with people talking simultaneously and chatting. I even tried to stream video demo whilst this was going on. It seems to work best in a more ordered and scholarly environment where the teacher speaks and then interacts with one student at a time. You can ‘put your hand up’ electronically to ask questions, which might be the best method. It’s another thing to try. One thing for sure is that it is also wise to shut down any other apps that might hog resources or bandwidth.

Just finished a chat session on Skype and testing on my ‘Virtual Dojo™’ system with tech support. Wow! What great support! He logged on remotely to my PC, made a few adjustments and loaded a few updates…Hey presto! Much improved video. It seems that I don’t need to go fibre optic just yet and you only need a 1mbps connection to run the software. I was told they will go HD shortly but I’m not sure if that will mean a line upgrade. Even if it does, I can get 80mbps on fibre optic with a massive 20mbps upload, compared to the 0.7 upload I have now most the time. In short, good news, students don’t need a super expensive go-faster connection.
To use the Virtual Dojo, here’s all the techie stuff you need to know for it to work well:
Users first need to have minimum PC requirements, which include a reasonably fast computer, a good Internet connection, and a headset for speaking and listening. A computer video camera is not necessary, but you would miss out on the main benefit, namely inter-active video coaching.
The minimum requirements to run the Virtual Dojo are:
• Operating System/Web Browsers/Accessories
• Windows Xp/NT/2000/VISTA/7
• MAC OS X onwards
• Intel Pentium 4 or above and equivalent processor
• 2 GB RAM
• Internet Explorer 7 and above
• Mozilla Firefox 3.5 and above
• Latest Flash player (10.1) and Java Runtime Environment 1.6
• Headphones/External mic
• Web Camera (optional)
Minimum Bandwidth Requirement (Upload and download speed should be same or close)
• Audio only classes – 512 kbps @ each attendee end
• Audio & Video classes – 1 Mbps @ each attendee end
• Additional bandwidth required for Screen Sharing and Audio/Video sharing
Here are few tips to avoid echo and noise issues in your class:
• Select the appropriate audio device from the available device list
• Everyone with audio controls should use headsets as external speakers + microphone causes acoustic echo
• Avoid using the internal or web camera microphone
• Make sure you have selected “Adjust audio automatically” from “Audio Setting” in device settings
• The microphone should not be too close to mouth and you should speak across it rather than into it

