I’m posting this as I wait for the final video of a total of about 2 hours worth to export. This means that Shibari Suspension Techniques should be on-line in an hour or two at ShibariClasses.com.
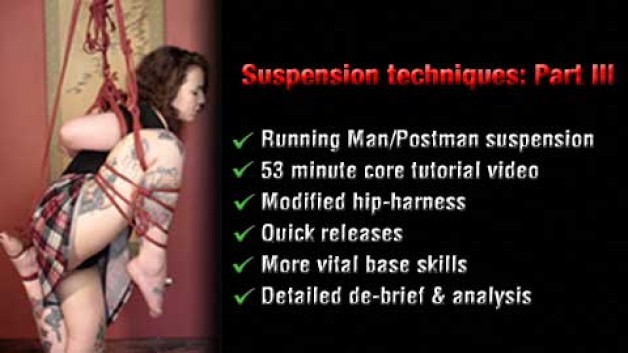
Part III builds on the skills that you have gained in Part I and Part II of Shibari Suspension Techniques with two hours of video explaining the Running Man (aka Postman) suspension, thus named to due the the vertical position which mimics running. You might have seen versions of this striking shibari suspension performed by the likes of Kinoko Hajime or Kazami Ranki.
You will learn:
- Using additional secondary lines
- Using an secondary main line
- Harness to harness suspension
- Variations on the contemporary gote
- When and how to use quick release tie-offs
- Pros and cons of different means of attaching the main line
- Two versions of this suspension, one using a modification of her hip-harness
- A very exposed play position
Not only is this all shown in great detail but, as usual, we also explain the reasons for everything that’s done. Suspension is not something to do by rote. To be safe and creative, you need to understand what you are doing and why. It is all too easy to make dangerous mistakes through ignorance. With 20+ years combined experience, 1,000’s of suspensions and teaching from some of the world’s top riggers, you can be sure we know most of the pitfalls and can help you avoid them. In addition, Sophie gives some useful feedback and tips for bondage models.
In this tutorial, we take a more ‘real life’ approach which does not exclude every glitch and thing that could have been done better. In the real world, ties are rarely 100% perfect. Tangles and snags happen, you drop a rope, get twists or something a bit off centre. By leaving these things in the video, pointing them out and doing a de-brief and analysis, we think you’ll learn more than if everything was done faultlessly with no room for self-critique. As we are always likely to encounter these things, it’s important to recognise them, know what’s dangerous or just ugly and know what remedial action to take.
In an in-depth analysis and self-critique, which is as long as the main tutorial, we discuss the tutorial. We believe this format is a superb way to learn but not one we have seen applied to shibari. For example, you’ll discover how to avoid making a poor choice of main attachment which could increase the risk of injury, how easily a tangle can be ‘flicked out’ without making it a drama, how to assess suspension line tension and why it’s important and other vital skills.
As we always preach connective tying, we have added an extra video explaining how many of the techniques in this video can be used to improve the message your rope sends to those you tie.
Assuming you have the base skills, e.g. to competently tie Nina’s hip-harness and a gote, and have completed the preceding parts of this series, you should be able to perform this suspension after studying this tutorial. While we encourage your enthusiasm, we urge you to really make really sure that you have laid solid foundations, especial with the gote, and not to rush ahead as this can be quite a demanding suspension. However, it is one which allows the person suspended to choose how they take the load and the clever addition of a simple variation of Nina’s hip-harness makes it far more comfortable. This means it is easier to endure and, most importantly, makes it safer by reducing the load on the gote and adding the option of additional secondary main line. So it’s a perect suspension to start and one which looks very impressive.