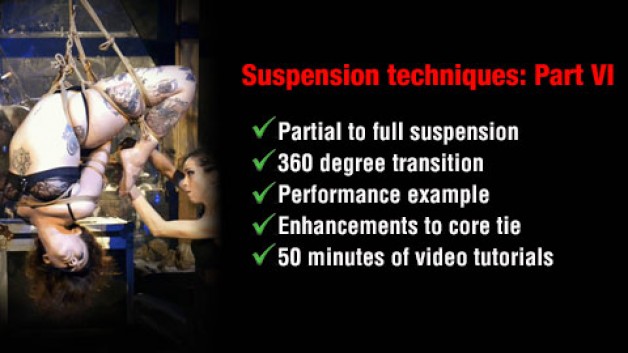
In ‘Suspension techniques’ Part VI, Nina introduces transitions using an impressive 360 degree suspension which she developed for a performance. In the example, she will guide you through a step-by-step tutorial of the core suspension,which simplifies it and makes it more accessible to both riggers and models. As some people, especially those with bad backs, could find the intermediate bridge position difficult to maintain, you will learn how to minimise this and offer an alternative by moving rapidly to an inversion.
This tutorial builds on the skills taught earlier in the series and assumes you have practiced simple suspensions. As it incorporates Nina’s hip-harness as the main load-bearing component, you should already be fully competent with this tie and will find the other ‘ingredients’ very familiar from earlier tutorials. This means that it is surprisingly easy to learn and presents a low risk of nerve injury, whilst being extremely impressive, particularly when ‘accessorised’ by tying hair or adding further constriction.
To allow you to adapt the tie to your partner and situation, to make it your own, you’ll be shown different variations and enhancements in a video of a live performance with our commentary.Of course, the elements shown in the performance can just as well be used for play and it is easy to see how the overall principles learned can be applied to creatively modify this suspension.
Here’s a little taster:
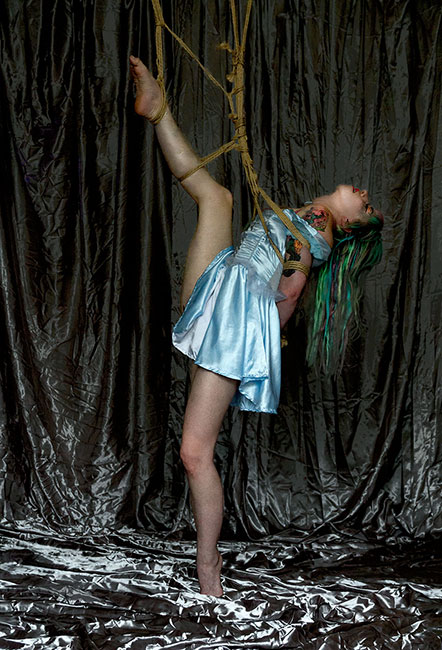
I was even inspired to do a shoot employing some of the ‘ingredients’, albeit somewhat modified, from Nina’s suspension:
As you can see, this is more than just a tutorial for a single suspension. By all means copy it step by step but you’ll soon find yourself exploring the endless possibilities that the principles demonstrated provide.